
Materials which are completely dry will last for years, can be removed and saved as you would glass tree ornaments.


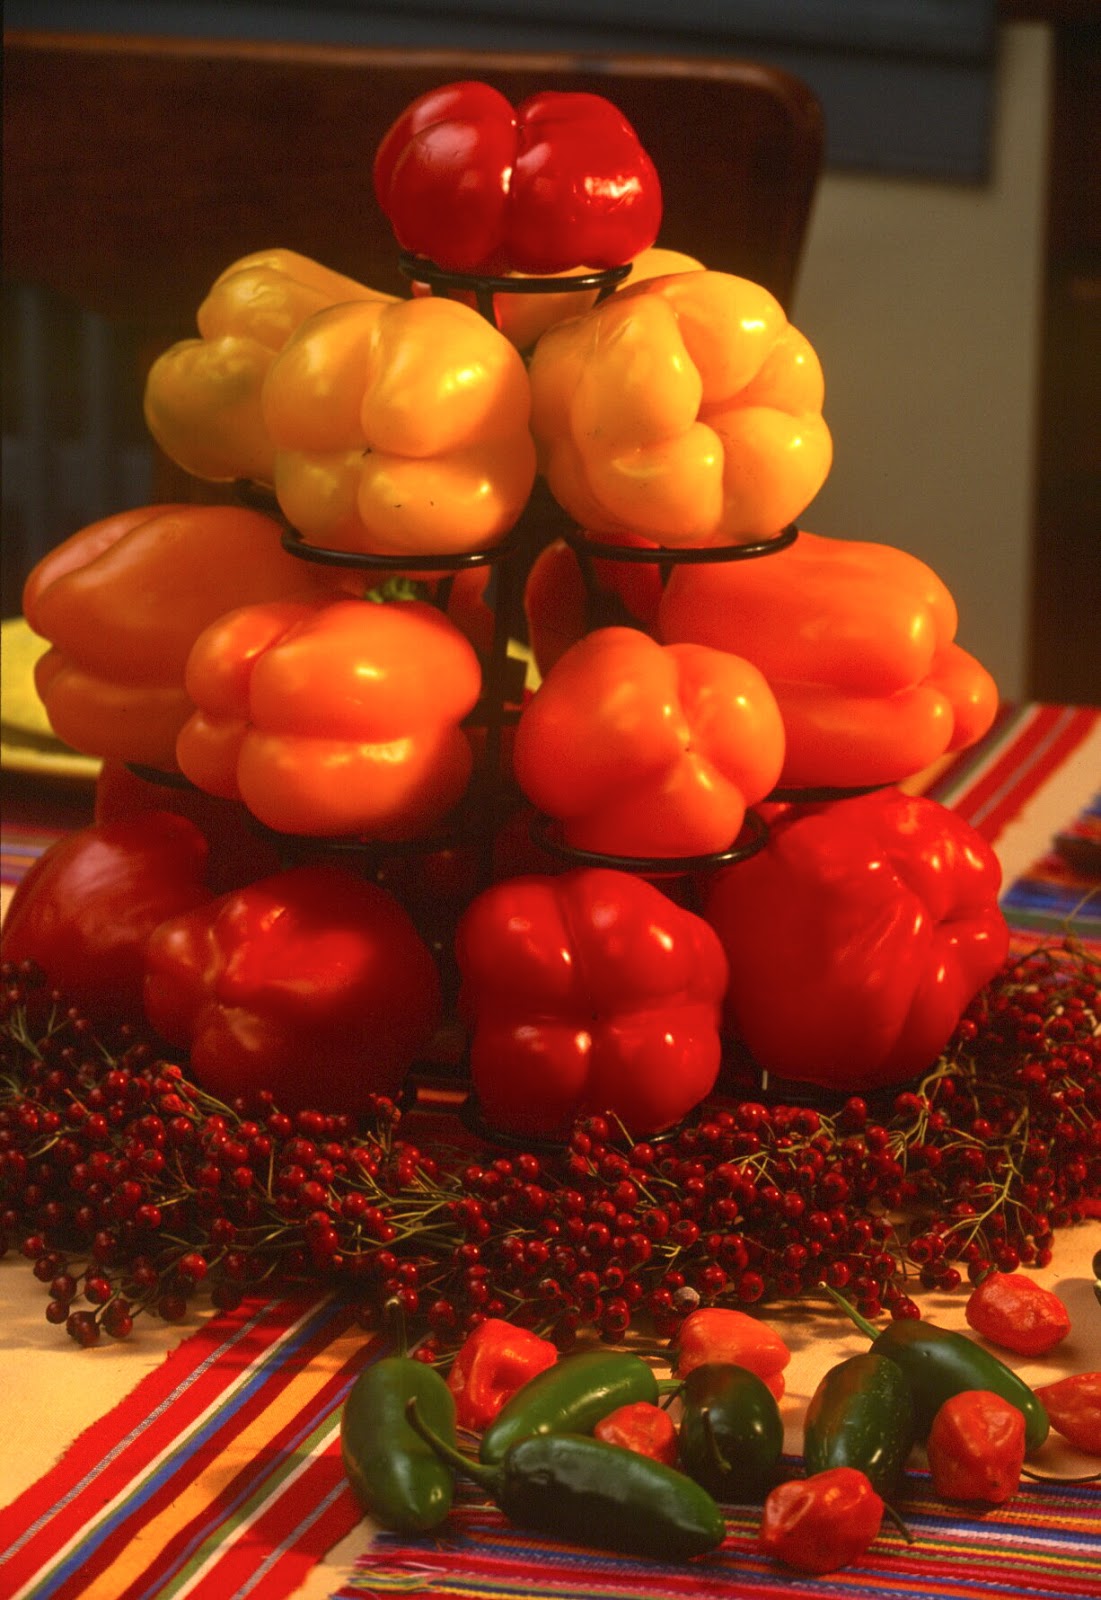


 Our family tradition when I was little was to take a Sunday drive in the country, leaving West Philadelphia for the rural atmosphere of Rosemont Pa, hunting for 'The Bittersweet Man'. He stood by the big curve on Montgomery Avenue, arriving in late September, selling bunches of bittersweet and Japanese lanterns. He'd remain for a few week's then disappear until the following year.
 berries. Hang the wreath indoors in a spot that doesn't get brushed against, or on a door that doesn't get slammed. Prop on a shelf, or lay flat on a coffee table out of reach of the dog's tail. Lucy is very proud of her wreath, and I'm proud of mine.
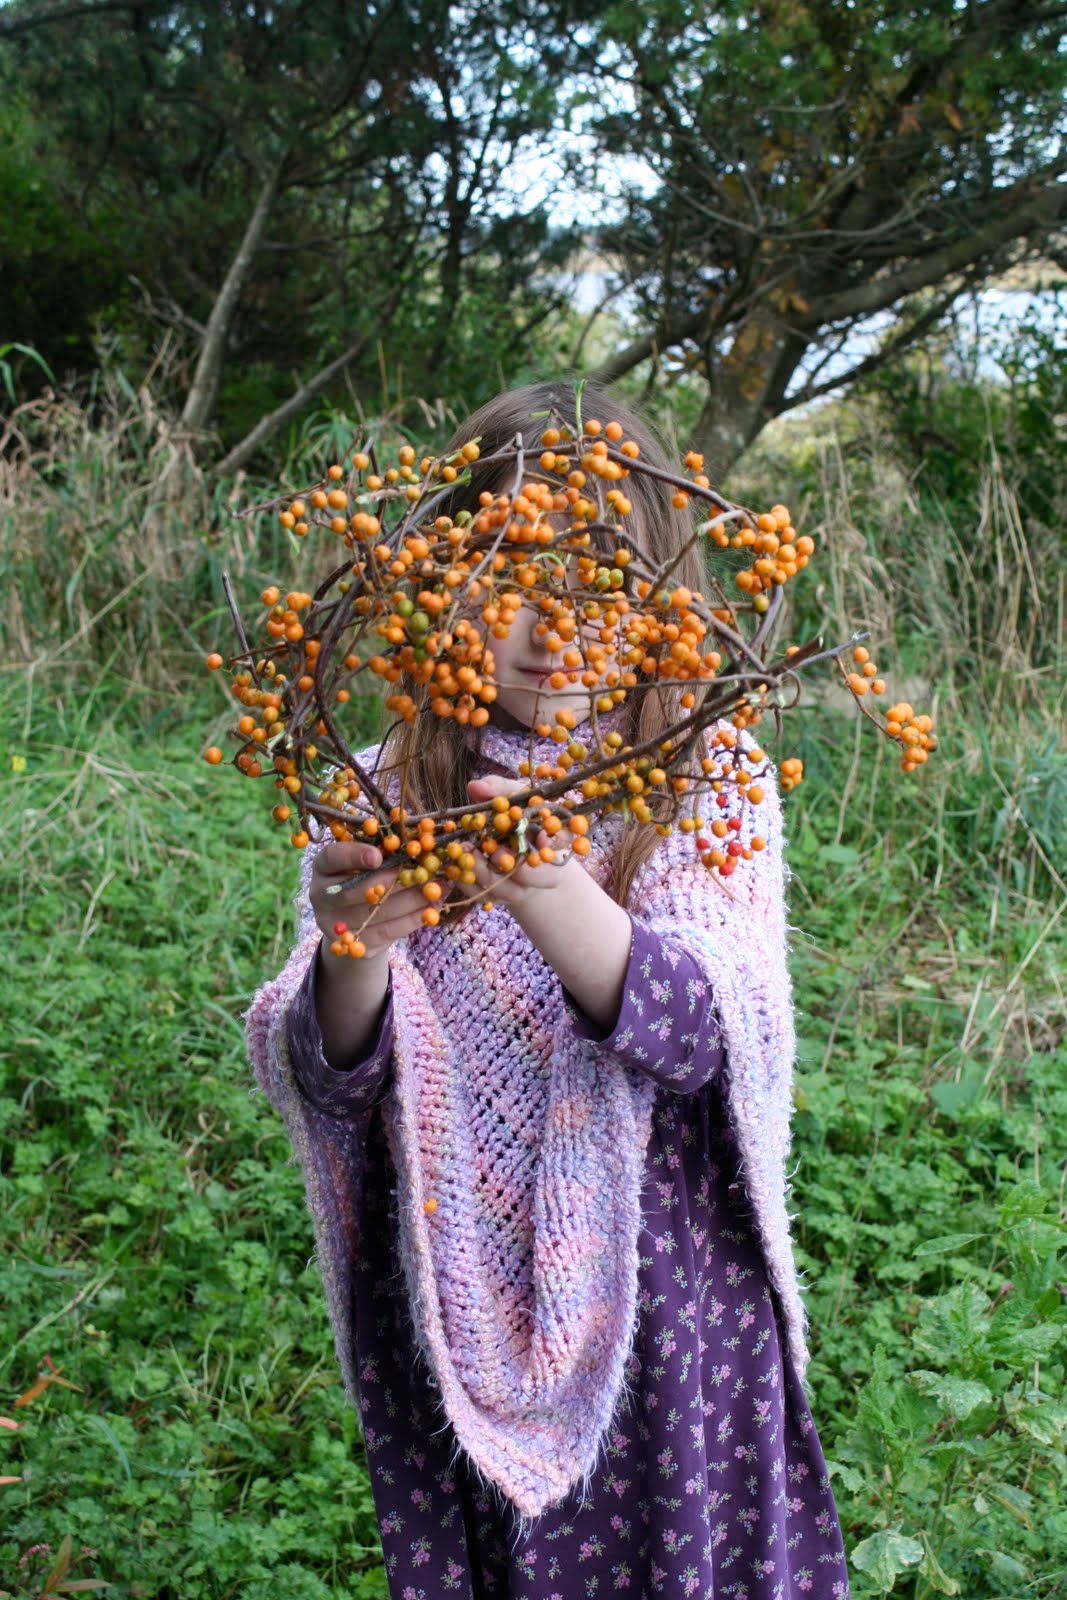
 photo© Alan & Linda Detrick, Ellen Spector Platt design
 Wire fresh stems of Southern magnolia leaves (every florist sells these) to a straw wreath base. Buy small pomegranates, poke a wire through and tie each wire tightly to the wreath. Or poke a florist wood pick through the bottom of the fruit and the other end securely into the wreath. Wipe up dripping juice before you hang on your nice white wall. Use only classy ribbon like silk or satin if you choose to add a bow.

 wreath photos©Alan & Linda Detrick, design Ellen Spector Platt, cookies Judy Benson
 horticulturalist but as a farmer who learned the hard way. I sold distinctive evergreen wreaths at my


© Blogger template Joy by Ourblogtemplates.com 2008
Back to TOP

